Migrate Your PostgreSQL Database
3 min read
With Heroku planning on cutting their free tier of services very soon, its time to migrate. This is my documented migration away from Heroku Postgres in hopes of helping other developers make the transition.
If you haven’t heard yet Heroku will no longer be offering the free tier of services and will also be deleting inactive accounts. With free services being removed on Nov 28th, 2022, and inactive account deletion starting Oct 26th, 2022. If you are like me you probably are using someone those free services. I have been using Heroku Postgres for some personal projects. There are a number of free services out there for database hosting. For this walk through, I am going to be migrating from Heroku to bit.io. The process was relatively easy and I actually used their live chat for a little help, which they were super helpful and friendly.
What you will need:
postgresql, I used version 14, this differs some from bit.io’s docs
Your Heroku account
Your new bit.io account (or another service)
Starting off
Let’s install postgresql version 14. I am on Mac but you can do this on any operating system. I installed using the homebrew command:
brew install postgresql
postgresql download guide
Now
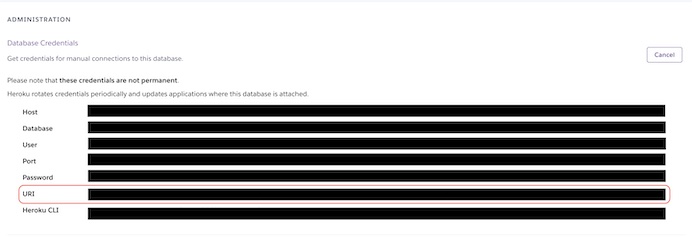
From here we are going to be using two commands from postgresql. The first is pg_dump, and we will need to add a few options/flags. This is also the point where you will need your Heroku URI or connection_string.
We need to pull our database from Heroku using the postgresql command: pg_dump.
You can find more about the postgresql command and flags here: pg_dump. I encourage you to take a look to understand better what each flag is doing here.
pg_dump --no-privileges --format=custom --file=heroku_archive.dump "your_heroku_uri_string"
You will now have a file in the directory you ran this with the title heroku_archive.dump. You can check this by running ls in the directory you ran the command.
Next
You will need your bit.io account and database up. So create that now, you can use GitHub to log in. Once logged in, create your database.
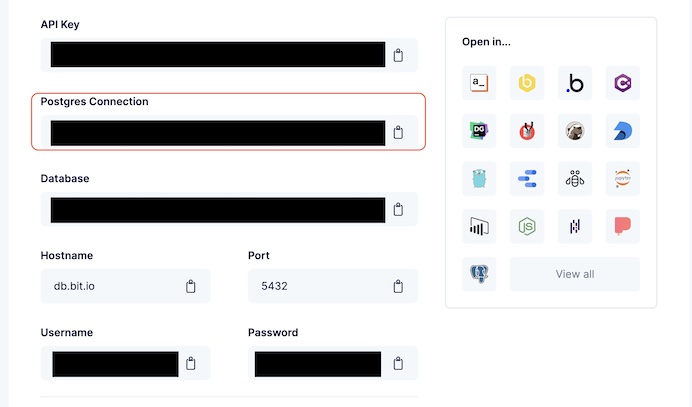
When your database is selected you will see a nav item titled “Connect”, this is how we are going to be getting things, well, connected. Much of the same information is here as was in the “Administration” and then “Credentials” in your Heroku Postgres account.
We will now be running another postgresql command: pg_restore.
pg_restore --no-owner --port=5432 --dbname="your_bitio_postgres_connection" heroku_archive.dump
Again, I encourage you to please take a look at this command and the flags here: pg_restore
And Finally
We can double-check everything. Go to your bit.io database, and select the “Data” tab at the top. On the left side, you will see a GUI that includes all your tables, center a GUI of the table with its values, and on the right a query editor for running queries. I so far have liked bit.io’s user interface.
Make sure you go and update all your connection_strings in your .env files that were previously using your Heroku database. Be sure to update it locally and in any production projects.
Thanks for reading. I hope this was helpful in your migration process.